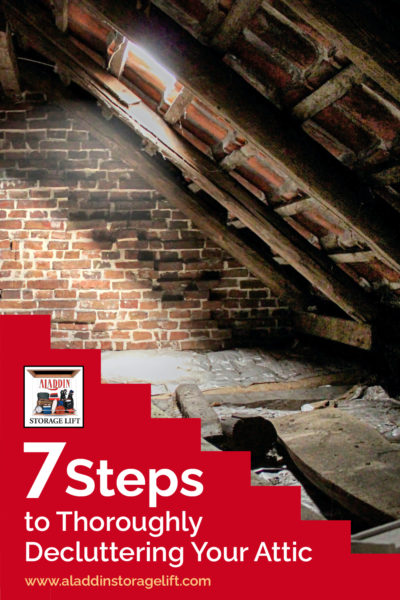
7 Steps to Thoroughly Decluttering Your Attic
During this season of decluttering and deep cleaning, you may think it’s time to throw in the towel after you’ve organized every room in your house. But you’re forgetting an important, cluttered space to clear: your attic.
If your attic is a rarely-visited space in your home, then that’s a sign that you need to take the time to clean it. Your storage items need to be dusted off and you need to inspect for more serious things such as mold or pests.
We’ll walk you through the 7 steps to take to thoroughly declutter and clean your attic space.
1. Remove all storage items.
The thought of cleaning your attic may have crossed your mind, but the thought of bringing your storage items down to sort through seemed like too big of a burden. While that may be true, it is an essential step of the process. Cleaning around your items, especially if you have a lot, won’t cut it and could lead you to miss signs of mold or pests.
Want to make removing your storage items from your attic painless? Get an Aladdin Storage Lift! This lift can raise and lower up to 500 lbs of your items safely to your attic at just the turn of a key.
2. Vacuum your attic.
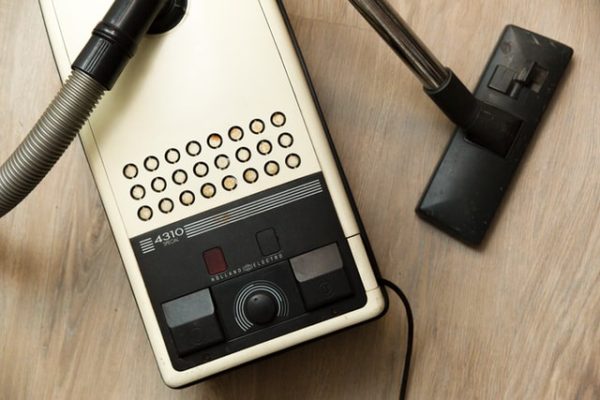
Photo by Lukas ter Poorten on Unsplash
After you remove your storage items, there will most likely be a lot of dust left behind. To avoid getting the dust and allergens in your system, be sure to wear a mask and to use a vacuum. If you use a broom, this will kick the dust and allergens into the air which could lead to skin and breathing irritation.
3. Inspect your attic insulation.
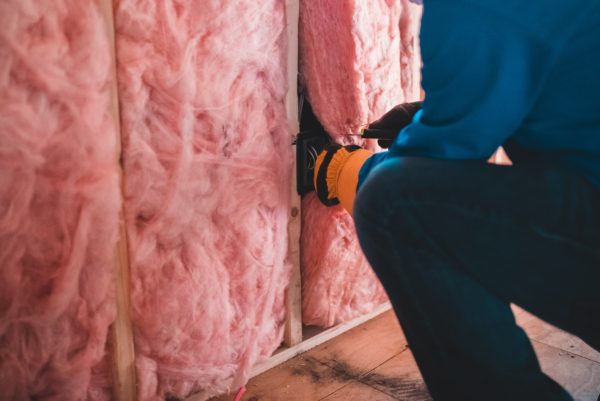
Photo by Erik McLean on Unsplash
Now that you have a cleared space, you can take a closer look at your insulation. You want to ensure that there are no signs of mildew and that it is still evenly distributed.
4. Look for other signs of mold.

Photo by Artem Kniaz on Unsplash
Be sure you have a mask and gloves on for this step. A usual sign of mold in an attic is a musty smell. You can also visually spot it on wood in a dark color. If you do find mold, be sure to get it treated professionally as soon as possible.
5. Check for signs of pests.

Photo by Oxana Kuznetsova on Unsplash
Hopefully, if you’ve completed the other steps and have not come across any sign of pests, then you should be good. But be sure to give your attic a thorough inspection for any signs of rodents or insects before moving on to the next step.
If you do find a sign of pests, trace down how they are entering your attic to determine where you need to make repairs. Depending on what kind of pests you find and how bad the damage is, you can take care of the problem yourself or hire a pest control company.
6. Declutter your storage items.

Sometimes we store things in the attic for when we need them in the future, but the day never comes. Make piles of things you want to keep, donate, throw away, or sell. Be sure to thoroughly dust everything off and wash any fabrics that were not properly stored.
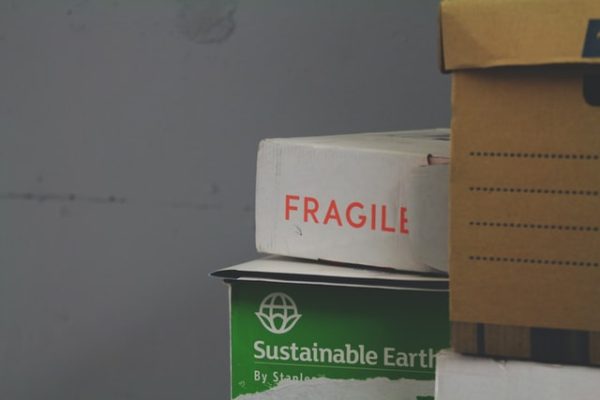
7. Put back your storage items.

Photo by Brandable Box on Unsplash
This is the last step! Hopefully, the pile of items you are returning to your attic is smaller than your initial pile. Now you just need to put your storage items back into your attic and you have successfully cleaned and decluttered your space.
Want to make putting your storage items back in your attic easier? Get an Aladdin Storage Lift! This lift can raise and lower up to 500 lbs of your items safely to your attic at just the turn of a key.
These are 7 steps you can take to make a big difference in your attic space. While you are capable of doing these steps yourself, it’s advised to call in professional help for mold or pests. Be sure to continuously check on your attic more frequently to avoid coming across any serious issues.
Save this image to your Pinterest board so that you can easily reference this blog post in the future!